Linocut Printmaking: Design and Print Your Own
It's not complicated at all — we'll walk you through carving your design into linoleum blocks and printing multiple copies. Perfect for making gifts or keeping for yourself.
What's Linocut Printmaking?
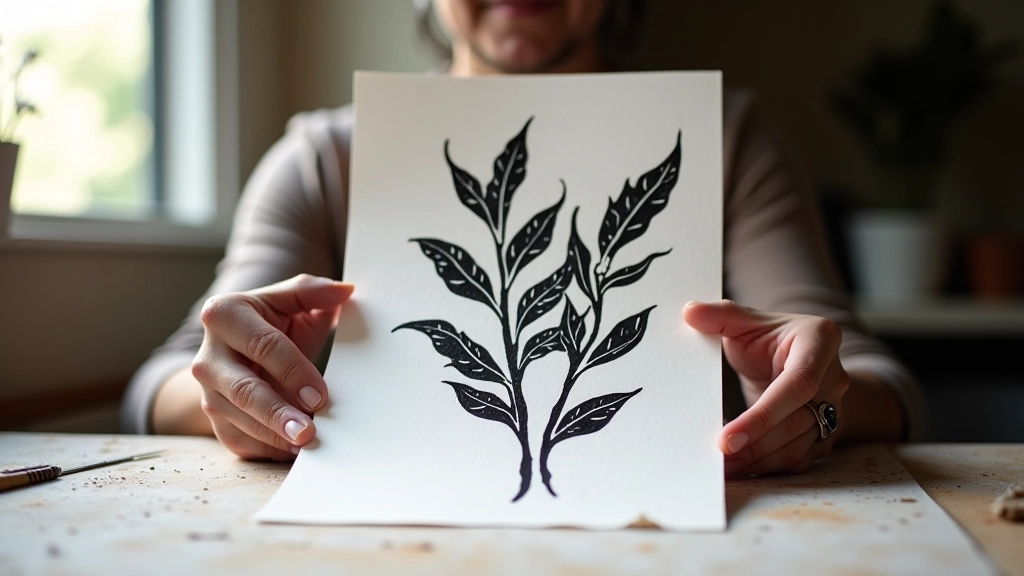
Linocut is one of the simplest printing techniques you can learn. You carve away parts of a linoleum block, ink the raised surface, and press it onto paper. What you're left with is a clean, bold print. You can make one print or twenty — each one's essentially identical, which makes it perfect for creating a series.
The best part? You don't need expensive equipment or a dedicated studio. A carving block costs just a few euros, and you'll have basic hand tools. Most people finish their first print in a single session. The technique's been around since the 1800s, but it's never gone out of style because it produces genuinely striking results.
The Four Steps to Your First Print
The process is straightforward. Most people grasp the technique quickly and produce impressive results within their first two hours.
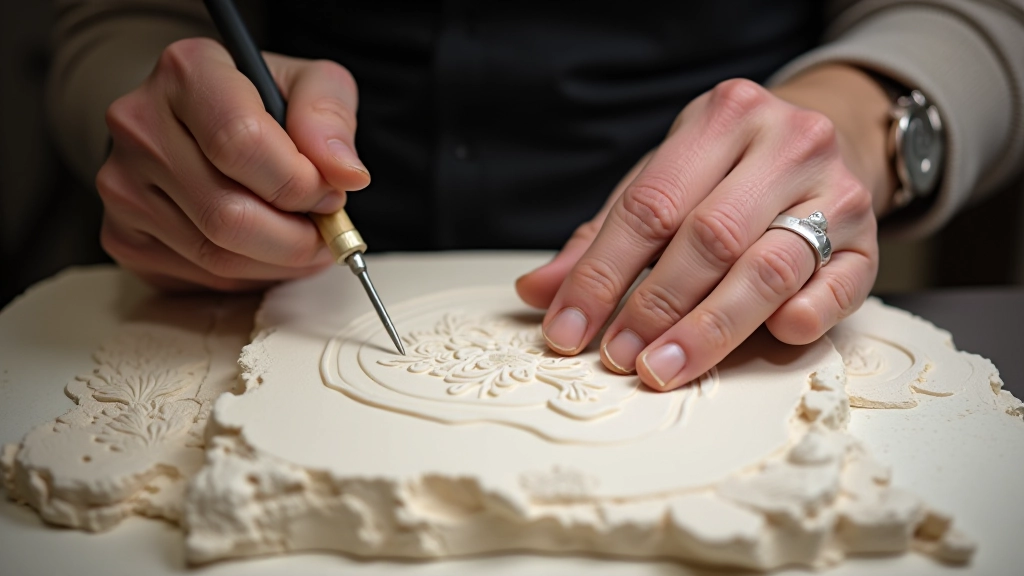
Design Your Image
Sketch directly onto the linoleum block or transfer a design using carbon paper. Think in bold shapes — fine details get tricky. Most people start with simple geometric patterns or silhouettes. You're carving away everything that shouldn't be printed, so plan accordingly.
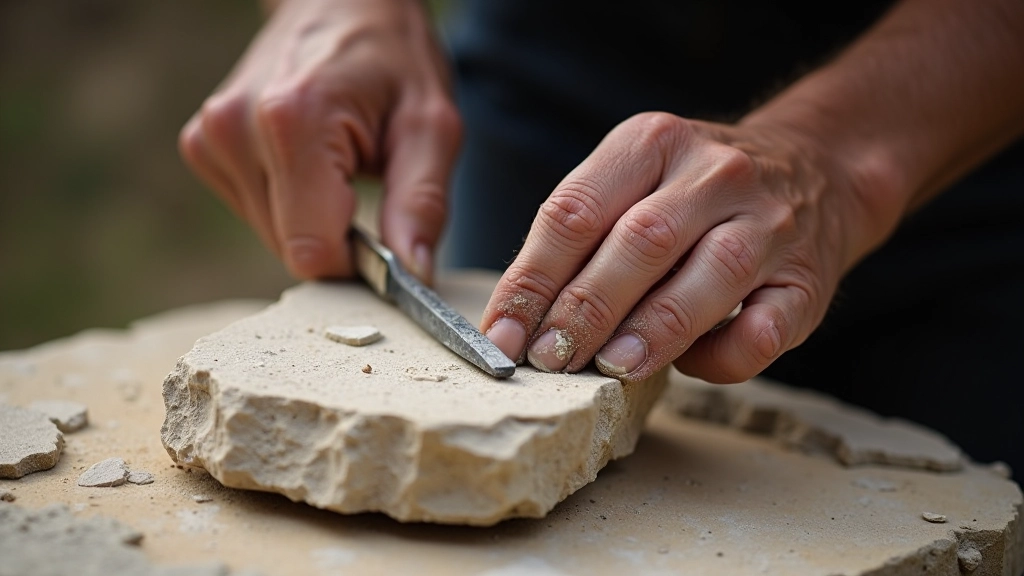
Carve the Block
Use V-shaped and U-shaped gouges to remove linoleum. You're creating the negative space — what you carve away won't print. It takes practice to judge depth and pressure, but most carvers develop a feel for it after their first 20 minutes. Expect the process to take 45 minutes to two hours depending on complexity.
Roll On the Ink
Apply ink using a roller. You want an even, thin layer across the entire raised surface. Don't overload the block — less ink is usually better. A single bottle of block printing ink costs around five euros and lasts for dozens of prints. The ink dries quickly, so work at a reasonable pace.
Print It
Place paper on the inked block and press firmly, either by hand or with a printing press. Hand-printing works fine — use a wooden spoon or baren to apply even pressure. Peel the paper back slowly. You've got your first print. Want another? Just re-ink the block and repeat.
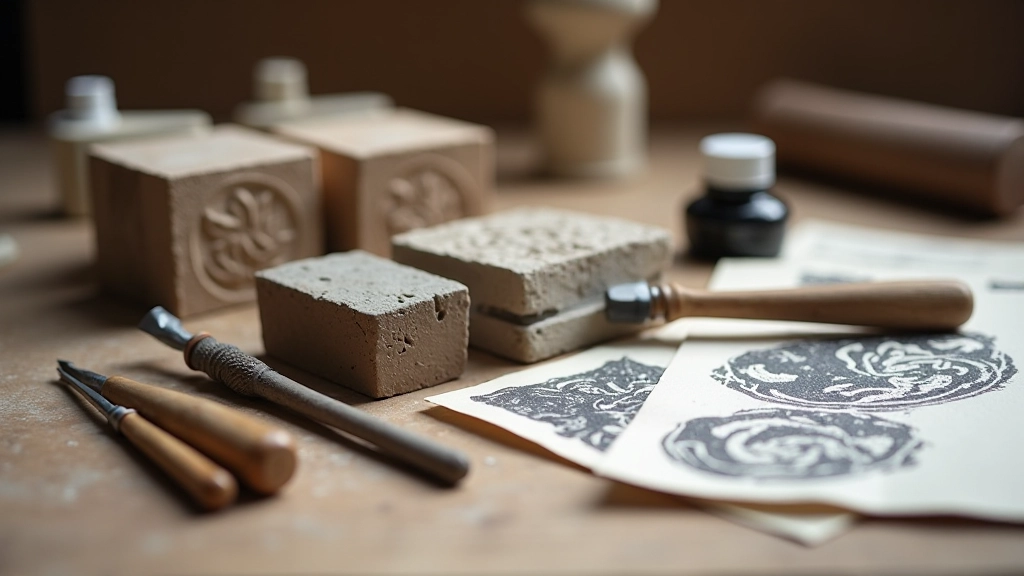
What You'll Actually Need
Here's the honest truth: you don't need much. A basic starter kit costs less than €30, and you'll have everything necessary to produce gallery-quality prints.
Linoleum Blocks
Standard 5mm thick battleship gray linoleum. Most people start with 15x10cm blocks — manageable size for beginners. Around €2-3 per block.
Carving Tools
A basic set includes three to five gouges in different widths. The V-gouge handles fine lines, the U-gouges tackle larger areas. A quality set runs €8-12.
Ink and Roller
Water-based block printing ink (comes in various colors) and a rubber roller for application. Budget €5-8 for both. The ink's non-toxic and easy to clean up.
Paper and Pressing Tools
Any decent paper works — from newsprint to quality cotton rag paper. You'll also need a wooden spoon, baren, or small printing press for pressure. Many people improvise with household items.

Techniques That Make a Difference
Once you've completed a print or two, you'll want to experiment. Here's what actually works.
Depth Control
Carve deeper for crisp lines. Shallow carving can leave linoleum that still holds ink, resulting in fuzzy prints. Aim for at least 3-4mm depth for your main design elements. You'll feel the difference immediately.
Layering Colors
Multi-block printing creates color variety. Carve separate blocks for different colors, register them carefully, and print in sequence. It's more work but produces stunning results. Many artists create three-color prints by carving three blocks and layering them strategically.
Paper Selection
Experiment with different paper weights. Thin paper picks up more detail. Thicker, textured paper creates interesting effects. Japanese washi paper is popular because it's forgiving and produces beautiful results.
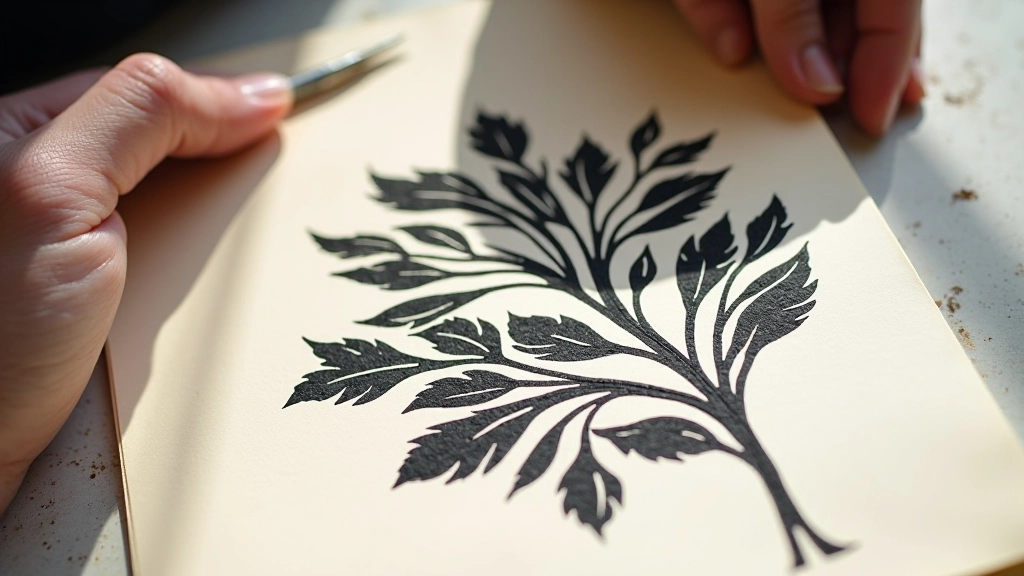
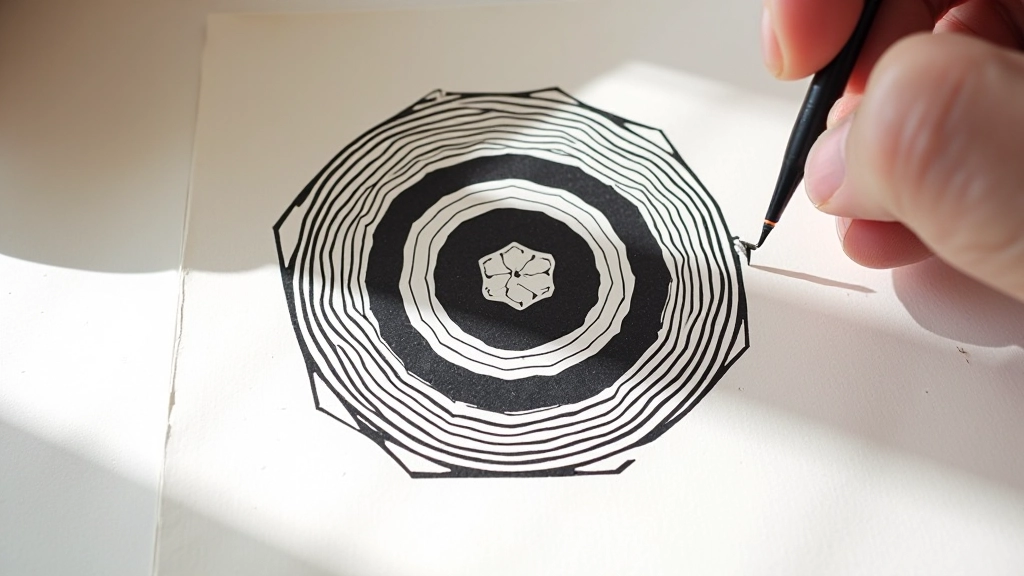
What Your First Projects Could Look Like
These aren't professional examples — these are actual beginner prints from our workshops. You'll be making similar work within your first session.
Real Tips from Workshop Experience
These aren't theory — they're lessons learned from watching people pick up carving for the first time.
Start Simple
Don't attempt photorealism. Your first block should have maybe three to five distinct elements. Complexity comes later once you've got carving feel down.
Keep Your Hands Safe
Carving tools are sharp. Always carve away from your hand and body. Use a bench hook or clamp to stabilize the block. Accidents happen when people rush.
Ink Consistency Matters
If your ink's too thick, prints look muddy. Too thin and you'll miss details. You'll develop a feel for it. Start conservative — you can always add more.
Test Before Final Prints
Always do test prints on newspaper or scrap paper first. You'll catch inking problems and pressure issues before using your good paper.
Mistakes Become Character
You'll carve something you didn't intend. You'll get uneven inking. These things usually end up looking good. Don't throw away prints that aren't perfect.
Take Your Time Carving
Rushing leads to mistakes and hand injuries. You don't need to finish in an hour. Take breaks, step back, look at your progress. Quality matters more than speed.
Ready to Carve Your First Print?
Linocut isn't intimidating once you understand the basics. Most people produce impressive prints their first day. You'll learn proper carving technique, how to achieve crisp prints, and how to develop your own designs. Plus, you'll walk away with multiple finished prints you'll actually want to keep or gift.
Learn About Our WorkshopAbout This Article
This article provides educational information about linocut printmaking techniques and processes. Individual results vary based on experience level, tools used, and practice. Always follow safety guidelines when using carving tools and printing equipment. For hands-on instruction and personalized feedback, attend our workshops or consult with experienced printmakers in your area.
Explore Related Workshops